
How do I fix a leaking shower head?
Repairing a leaking showerhead is a relatively simple but detail-oriented task. A leaking shower head can cause water wastage and affect the water experience in your home and therefore must be repaired promptly. Here is a detailed guide to fixing a shower head.
I. Analyzing the Causes of Shower Head Leaks
Shower heads leak for a variety of reasons, including the following:
-
- Damaged seals: the seals inside the shower head, especially the O-rings, if aged or damaged, will lead to a poor seal, which will trigger a leak.
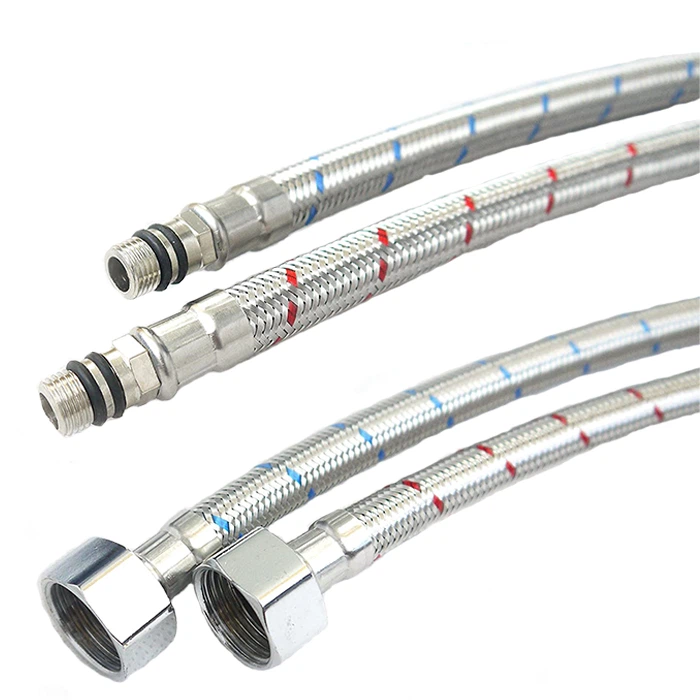
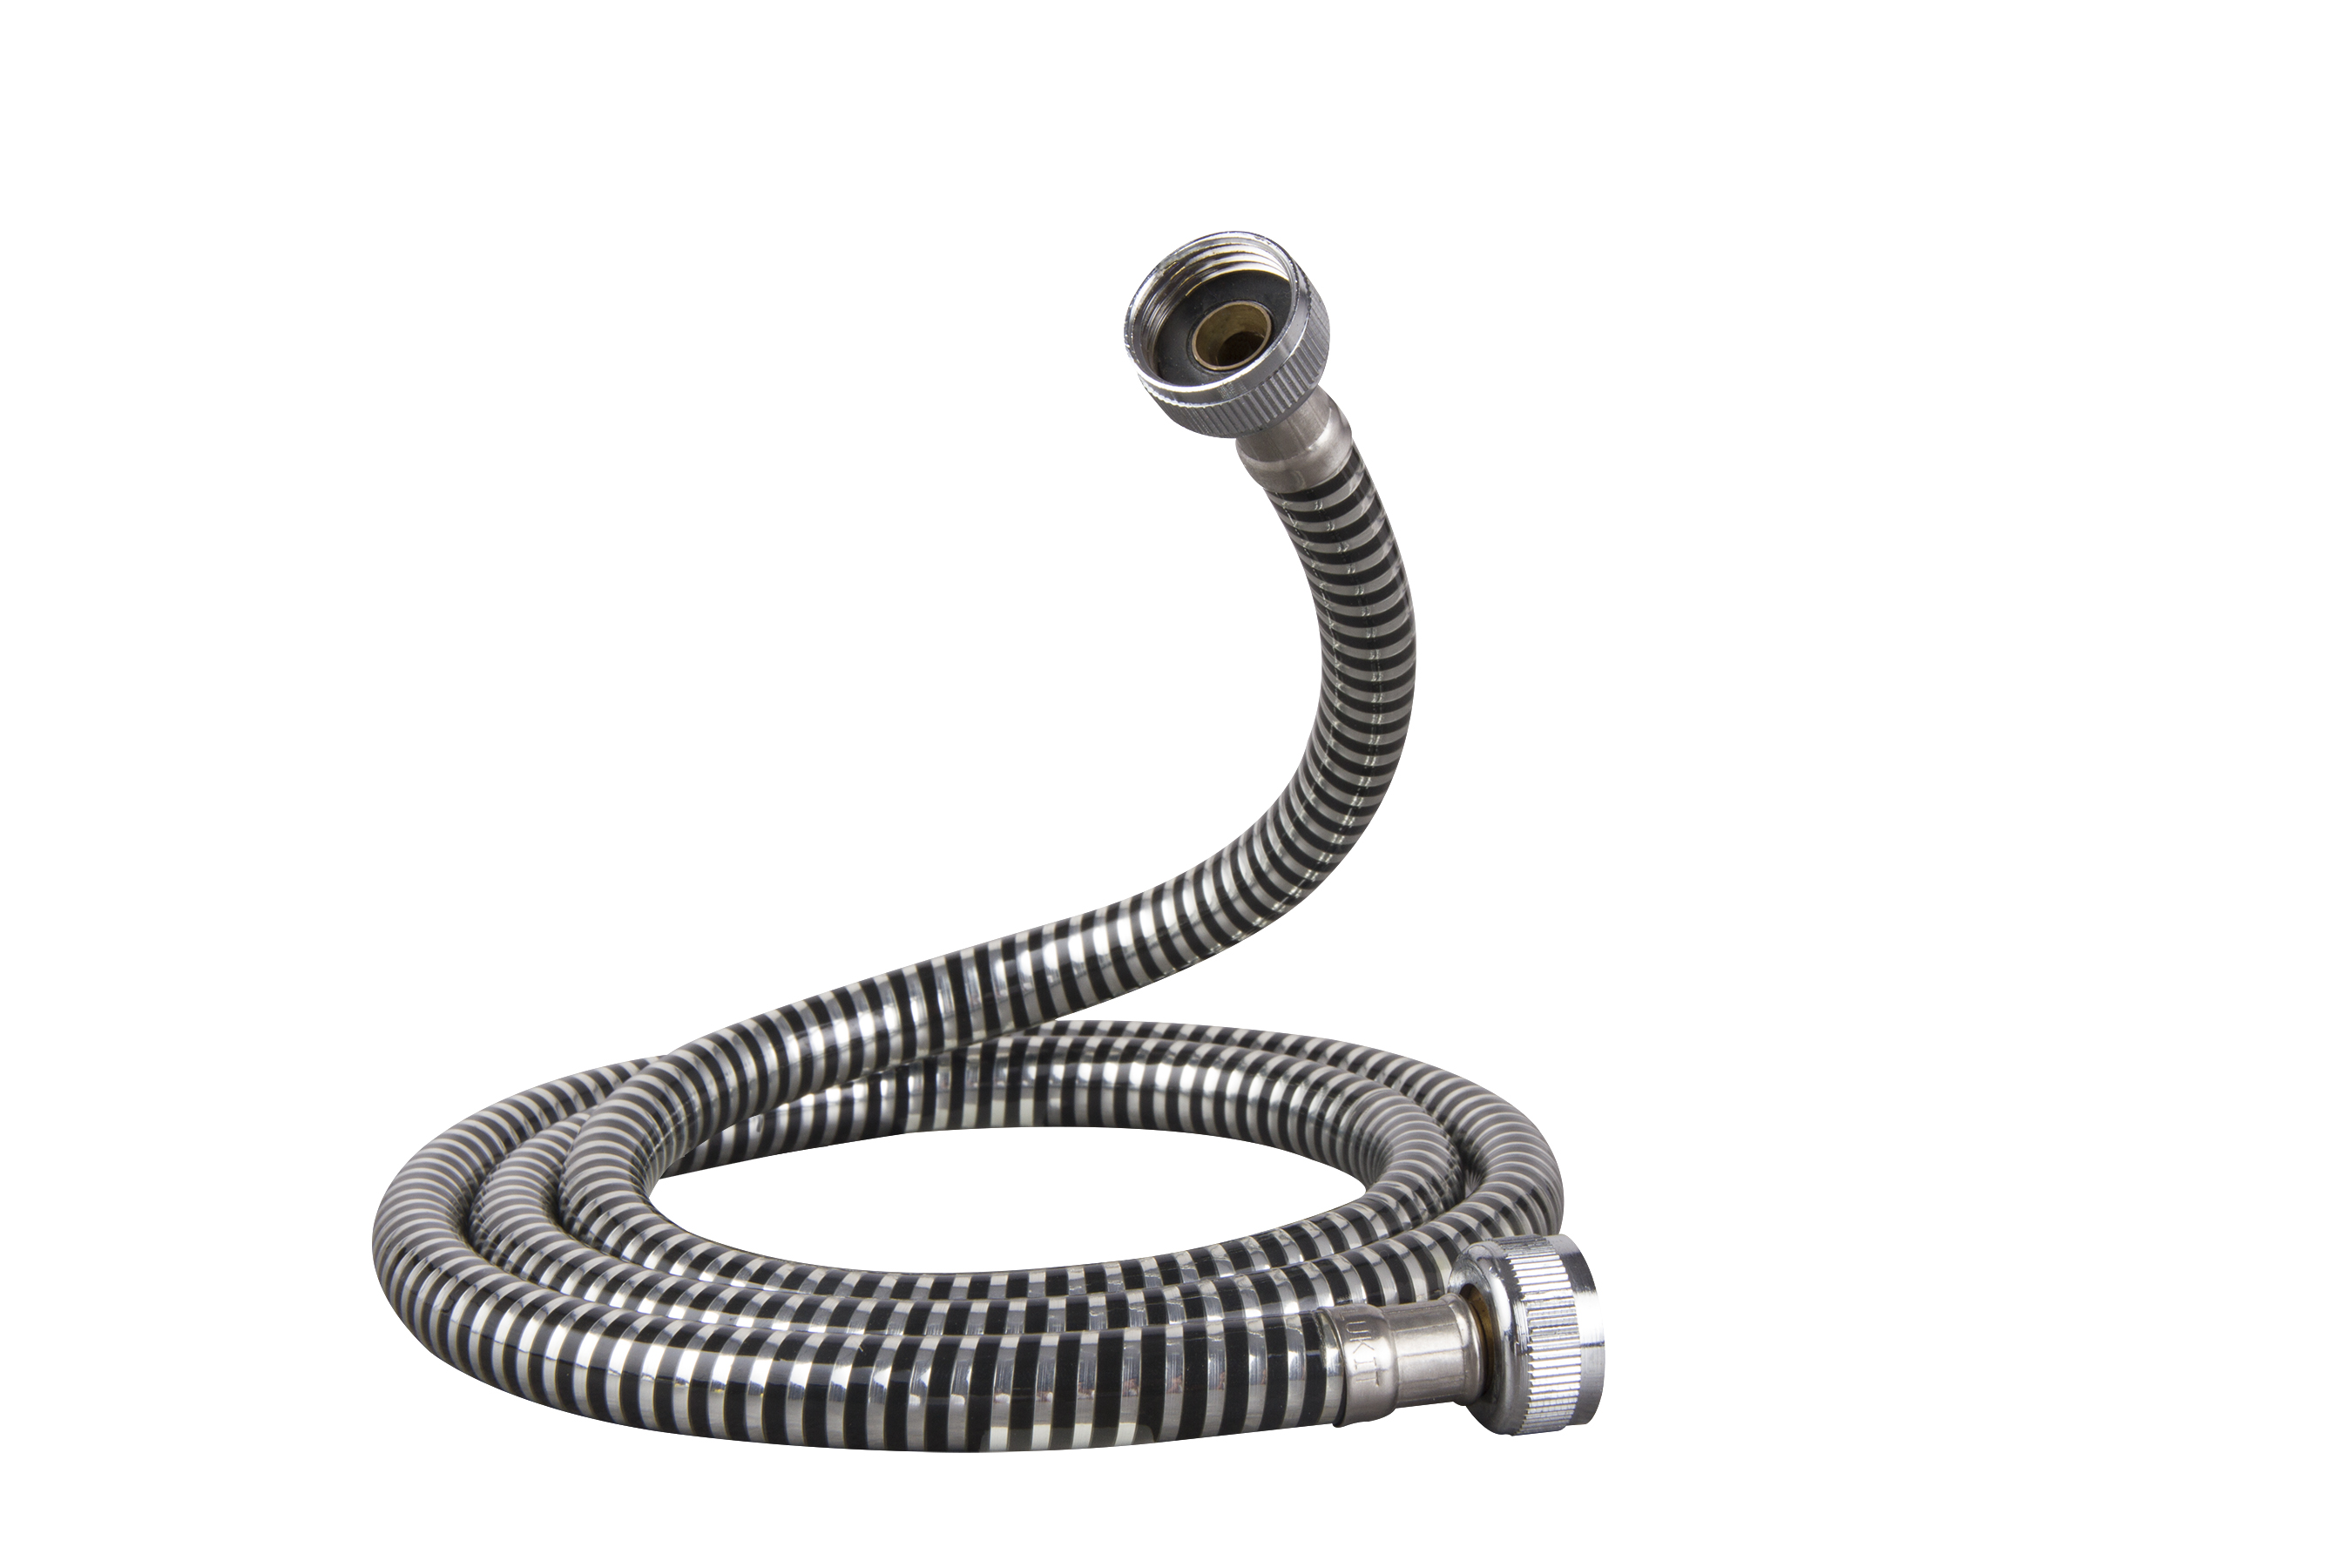
- Loose connections: loose connections between the shower head and the hose, or damaged threads and rubber rings, can also lead to leaks.
- Defective or damaged shower head design: some shower heads may have cracks or poorly designed internal channels due to design defects wear and tear or collision during long-term use, resulting in water not being able to drain completely and thus dripping.
- Valve core failure: The valve core is the core component of the shower head, responsible for controlling the water flow on and off. If the spool is damaged or has a poor seal, it can also lead to leaks.
II. Steps to fix a leaking shower head
1. Turn off the water supply
Before repairing the shower head, turn off the water source to avoid getting wet or causing more damage during the repair process.
2. Disassemble the shower head
Use a suitable tool (e.g. wrench or screwdriver) to unscrew the shower head from the hose. Be careful to be gentle during disassembly to avoid damaging other parts.
3. Check seals and connections
Carefully check the seals (especially the O-rings) inside the shower head for deterioration or damage. At the same time, check that the connection between the shower head and the hose is not loose and that the threads and rubber rings are intact.
4. Replace the seal or repair the connection
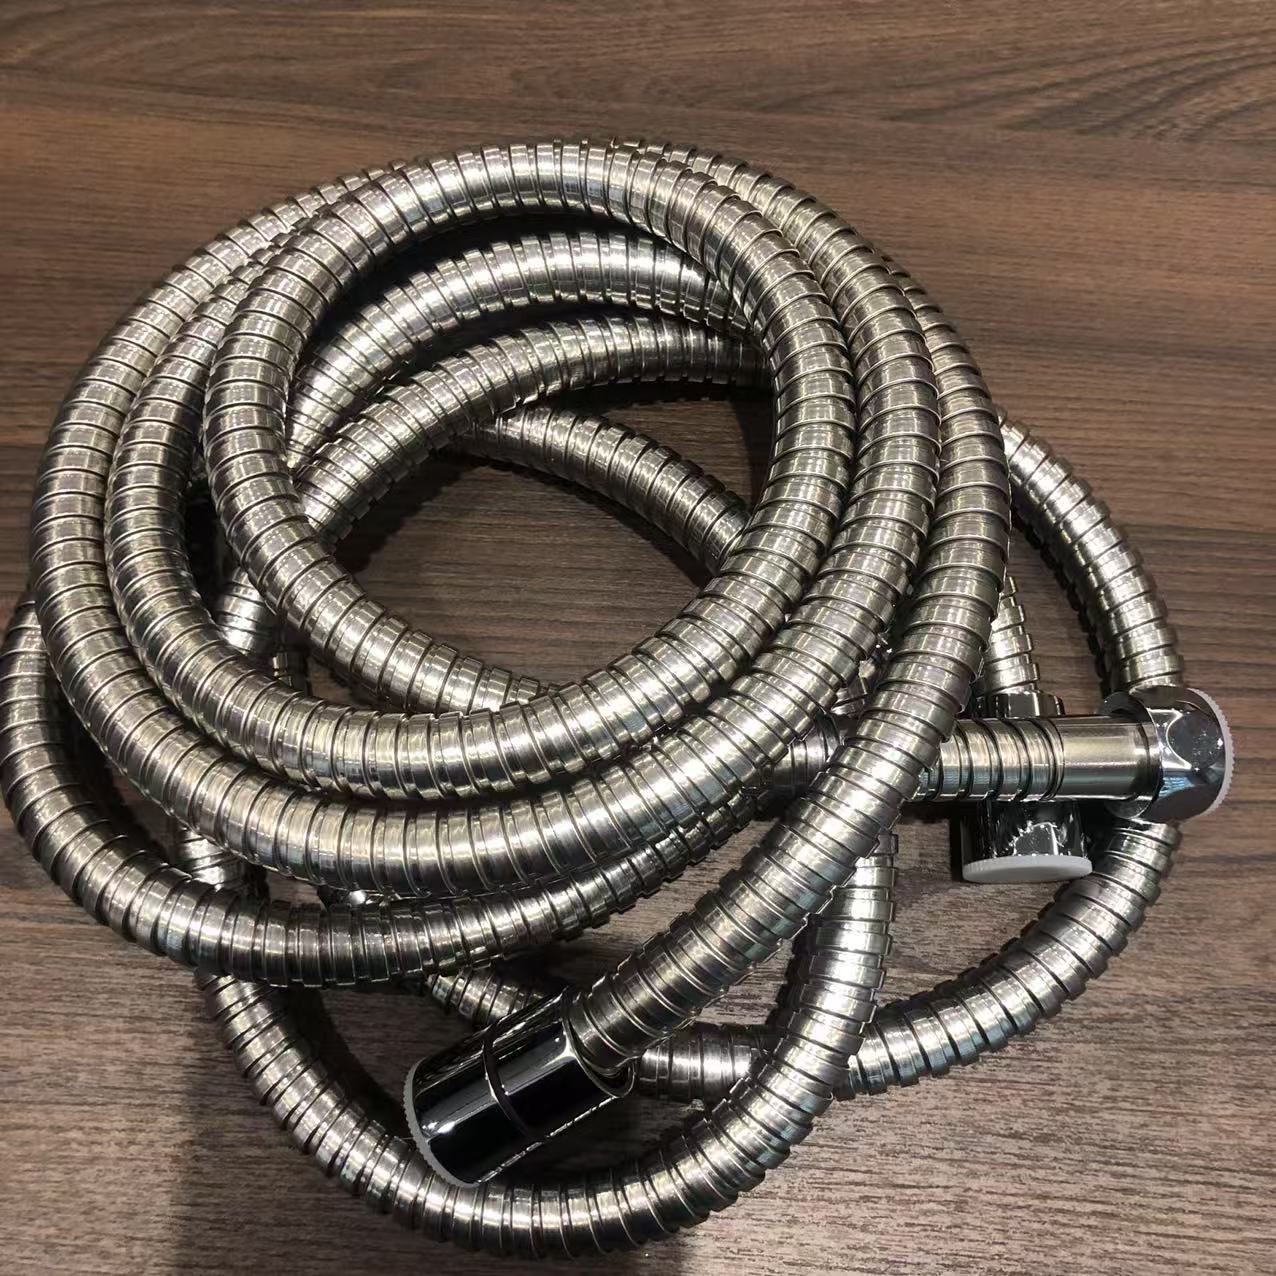
If the seal is found to be damaged, it needs to be replaced by choosing the right seal according to the specifications. If the connection is loose, it can be re-tightened; if the threads or rubber rings are damaged, it is necessary to replace the hose or related parts with new ones.
5. Cleaning and lubrication
Before reinstalling the shower head, you can soak the shower head with white vinegar or other mild cleaner to remove scale and impurities. Also, apply some lubricant (such as petroleum jelly or adhesive used by plumbers) to the threads to ensure a tighter connection.
6. Reinstall the showerhead
Reinstall the shower head on the hose and make sure all parts are secured. During the tightening process, take care to apply the right amount of force to avoid over-tightening or over-loosening.
7. Turn on the water supply to test
Turn on the water source and test if the shower head is still leaking. If water is still leaking, you need to check and fix the relevant parts again.
III. Preventive Measures
-
- Regular inspection and maintenance: Regularly inspect the seals, joints, and spools of the shower head and replace aged or damaged parts in time.
- Avoid using corrosive cleaners: In daily use, avoid using strong acid and alkali and other corrosive cleaners to clean the shower head, so as not to damage its material and internal structure.
- Choose a high-quality shower head: When purchasing a shower head, choose a well-designed and well-reputed product to ensure its quality and durability.
- Install and use correctly: when installing a shower head, make sure that all parts are properly installed and secured. During use, avoid pulling hard on the shower head nozzle and hose to avoid damage or loosening.
Repairing a leaking showerhead may seem simple, but it requires attention to detail and skill. Through the introduction of this article, I believe you have mastered the basic methods and steps to repair showerhead leaks. In practice, if you encounter problems or uncertainties, it is recommended to seek professional help or consult relevant organizations.